EDGE OF OBLIVION
Sci-Fi Short Film (2025)
Roles: Writer, Director, Producer, VFX Supervisor, Editor, VFX Artist
LOGLINE
After a catastrophic collision in the orbit of a black hole, David finds himself trapped by both the relentless pull of gravity and his own choices.
DIRECTOR'S STATEMENT
Edge of Oblivion began as my senior project at Wichita State University, where I set out to combine my passions for game design and filmmaking through virtual production. I wanted to create an environment that would be impossible to capture on Earth, so I set the story on a space station orbiting a black hole – a celestial body that has long fascinated me for its paradoxical nature. As I wrote, the black hole grew to represent forces beyond our control, pushing me to reflect on how I would face the possibility of never reaching my goals. As a person with ADHD who thrives through hyperfocus, I often lose sight of the bigger picture. This story allowed me to process importance of stepping back and choosing what truly matters.
CAST
David
A.C.E.
Dawn
Jordan Bodenhamer
Nicholas Dreier
Sophia Fruits
CREW
Writer/Director
Producers
Costume Designers
Music Composer
Director of Photography
Assistant Camera
Gaffer
Grip
Logan Bodenhamer
Logan Bodenhamer
Adin Replogle
Logan Bodenhamer
Julie Bodenhamer
Rick Bodenhamer
Gabe "Fred" Reichart
Luke Parrett
Audrey Zimmerman
Cooper McWilliams
Tanner Albers
Luke Schroeder
Jordan Devoy
Sydney Stevens
Savannah Hammerton
John Hughes
Nick Scarmozzi
Brayden Copp
Tanner Albers
Boom Operator
Script Supervisor
Production Assistant
VFX Supervisor
Editor
VFX Artist
Colorist
Foley Artist
Sound Editor
Mason Love
Mason Phillips
Julie Bodenhamer
Rick Bodenhamer
Logan Bodenhamer
Logan Bodenhamer
Logan Bodenhamer
Luke Parrett
Steven Villa
Adin Replogle
VIRTUAL PRODUCTION
We applied Virtual Production to this project by utilizing a Vive Tracker attached to the camera on set to preview what a shot would look like in the virtual environment. Initially, I wanted to be able to use the Vive Tracker to capture camera movement on set as well, and I made significant progress towards this. However, we lacked the equipment required to be able to sync the tracking data with the footage at Wichita State University and did not have the budget to purchase or rent it. It was still incredibly useful to be able to use the Vive Tracker in the way that we did because it allowed us to frame shots precisely relative to the virtual environment, which led to aesthetically pleasing compositions in the final product.
I began experimenting with using Vive equipment months before I committed to doing this project to make sure that using it would be viable before continuing. Wichita State had a Vive VR headset in their equipment room available for students to use. Although it did not contain a tracker in the kit, I was able to temporarily mount a controller to my personal DSLR with tape to get a sense of how well the tracking would work. The initial test was successful (although rough since tape isn't exactly stable), so I decided to move forward with the idea and purchased my own Vive Tracker as well as a proper mount.
BLACK HOLE
I have long had a fascination with black holes. They represent the perfect blend of beauty, danger, and mystery, and are one of the most striking objects in the universe. When I started contemplating the use of Unreal Engine to create a film, I decided that I wanted to maximize the potential of the software by setting the film in an environment that could not be shot practically. This led me to the idea of setting the story in the orbit of a black hole.
Once I was confident in my virtual production experiments, I immediately began researching black holes because I needed to make sure the effect was achievable before putting the time into crafting a film around it. In my research, I found an excellent tutorial series by OverdrawXYZ which explained how to create the black hole that appears in the film using HLSL and raymarching.
The effect works by tracing light paths from the camera and calculating how they would bend around the black hole to create realistic gravitational lensing. If a light path comes too close to the center of the black hole, a black pixel is rendered which creates the event horizon. The accretion disk is rendered when light paths intersect the flat plane at the center of the black hole within the accretion disk's radius.
STORY
Once I was confident in being able to use the Vive Tracker and black hole effect, I began to develop the story for Edge of Oblivion. I wanted the black hole to be essential to the story I was telling, so I started by breaking down the traits that make black holes a threat. The overwhelming gravitational pull is by far the most powerful element of black holes, and once I landed on that thread I began to think about what a character might experience emotionally if caught in a black hole's gravity. With this in mind, I was able to tie the black hole directly to the main character's arc and write a script that explores the limits of human agency in the face of an unrelenting force of nature.
PREVISUALIZATION (PREVIS)
As soon as I decided on every environment I was going to need and had a solid version of the script ready, I began creating 3D models in Blender. I would later refine these models for the final version of the film, but for now they just had to accurately represent what I wanted without needing too much detail. I was going for a raw mechanical look that takes elements from real spacecraft and 80s Sci-Fi films, so I decided to use a process similar to what ILM did for the miniatures in the original Star Wars trilogy where I would create a simple base model and then add detail through kit bashing. I designed an exterior model of the space station, an interior model of the station with a Bridge, Hallway, and Generator Room, and a meteorite model.
I chose to combine storyboarding and Pre-Vis together for this project. I knew I was going to need to create a digital environment in pre-production to use on set and I wanted previs animations for reference, so it would save time to plan my shots once using a virtual camera in Unreal Engine, which was essential to meet the class deadline. To create the pre-vis animations, I recorded readings of the script and animated a meta human sliding around to roughly mimic the motion I wanted in each shot. I did this for all the scenes that were going to utilize virtual production so that we had reference for everything on set.
This is one of the previs animations we used as reference. Everything about it is very rough, but it was incredibly useful for planning how to shoot the scene. The final version of the sequence draws from the structure of this animation with vastly improved timing, performances, and rendering.
LIGHTING
To make sure that the footage would match well with the digital environments, it was essential to make sure that the lighting on set accurately replicated the virtual lighting. Since I had created previs versions of the environments prior to shooting, I already had the lighting set up about the way I wanted it. While planning for the shoot, I worked with the gaffer of the project, Luke Schroeder, to use the lights we had available at Wichita State University to replicate what I created in Unreal Engine. Each of these setups required several lights and we sometimes needed multiple setups per room since we had to adjust everything to make sure that the camera always pointed toward the green screen, so we planned the shoot so that we could focus on one lighting set up per day and then change it into the setup we needed for the following day after we wrapped. This meant that we ran almost every scene every day, but it was very efficient because we barely had to adjust the lights in between shots.
SPACE SHOTS
I began creating the finalized VFX by animating the space shots because they added helpful context to the edit that did not exist without them and I wanted to see them in place before locking the rest of the cut for compositing. This was a great exercise in composition because the black hole and the statin are the only objects you see in space for most of the film and I had to find many ways to create unique shots with just those two elements. I wanted to emphasize the smallness of the station compared to the black hole, so I decided to progressively make the wide shots of the ship further away as it gets drawn closer to the black hole causing the ship to become smaller in frame while the black hole would retain it's scale due to it's massive size. I also utilized large sweeping camera moves to crate parallax since the depth cues in outer space are limited, so it helped create a sense of space that would have otherwise been lacking.
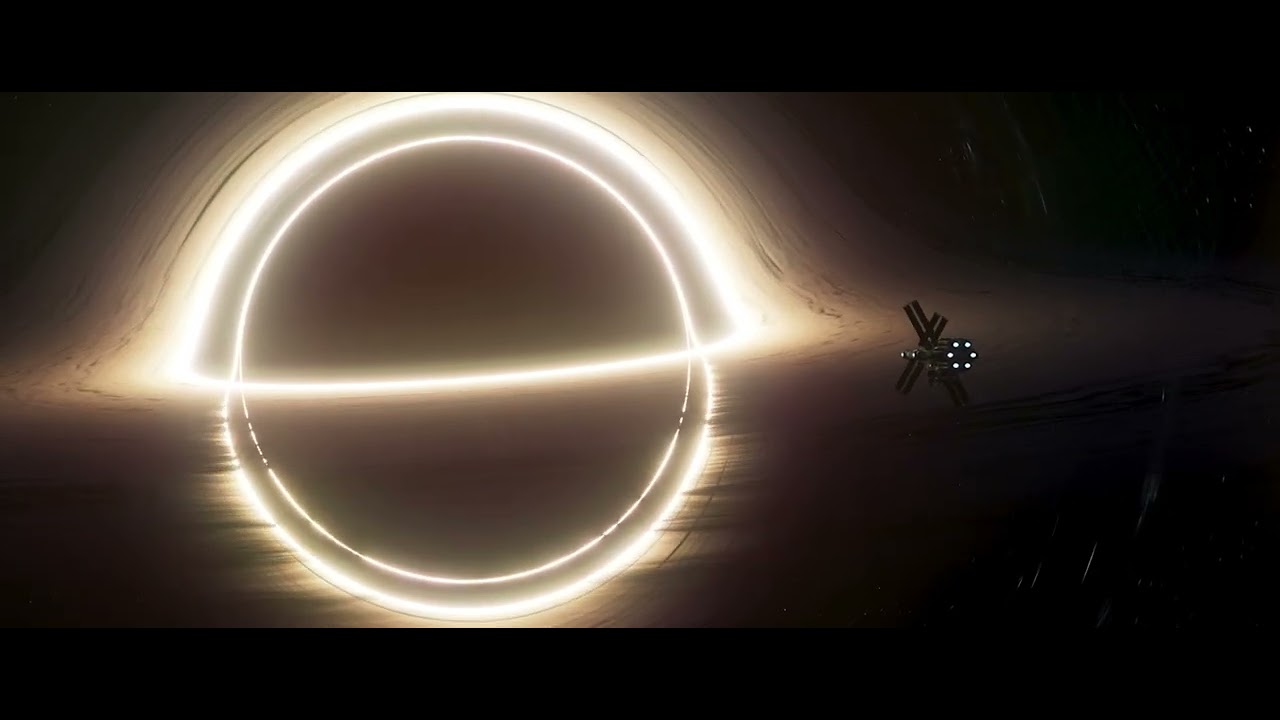
This is one of the first space shots to appear in the completed film. It showcases the sense of scale I was going for between the ship and the black hole while also displaying the use of parallax to create additional depth
FINALIZED ENVIRONMENTS
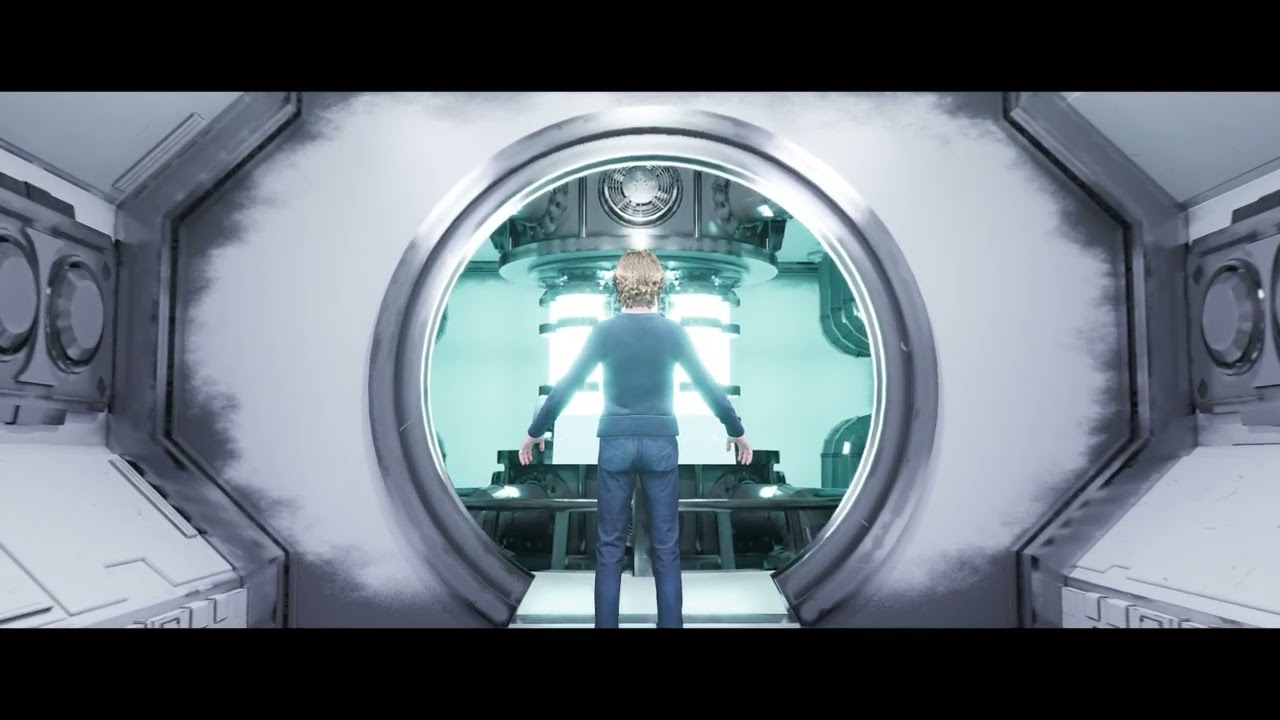
To prepare for compositing the interior shots, I needed to refine the design of the interior environments. The models I created during previs matched the basic design I was going for, but they were too simple to be used for the final renders, so I continued using kit bashing to add additional detail. I wanted more visibly mechanical elements that would increase as the rooms get deeper into the ship. For the bridge, I mostly added panels with knobs and switches around the desk as well as some blinky lights that would also appear in the other rooms to add some subtle animation to the ship. In the hall, I integrated some grate models into the floor to add some additional texture and added exposed areas in the paneling with pipes visible underneath. In the generator room I added greebling to the walls to make it feel like there's a lot of exposed machinery. I then remodeled the doors to give them a visible rotating lock that would make the opening animation more interesting as well as a window to prevent the rooms from feeling too flat by allowing you to see into the following rooms.
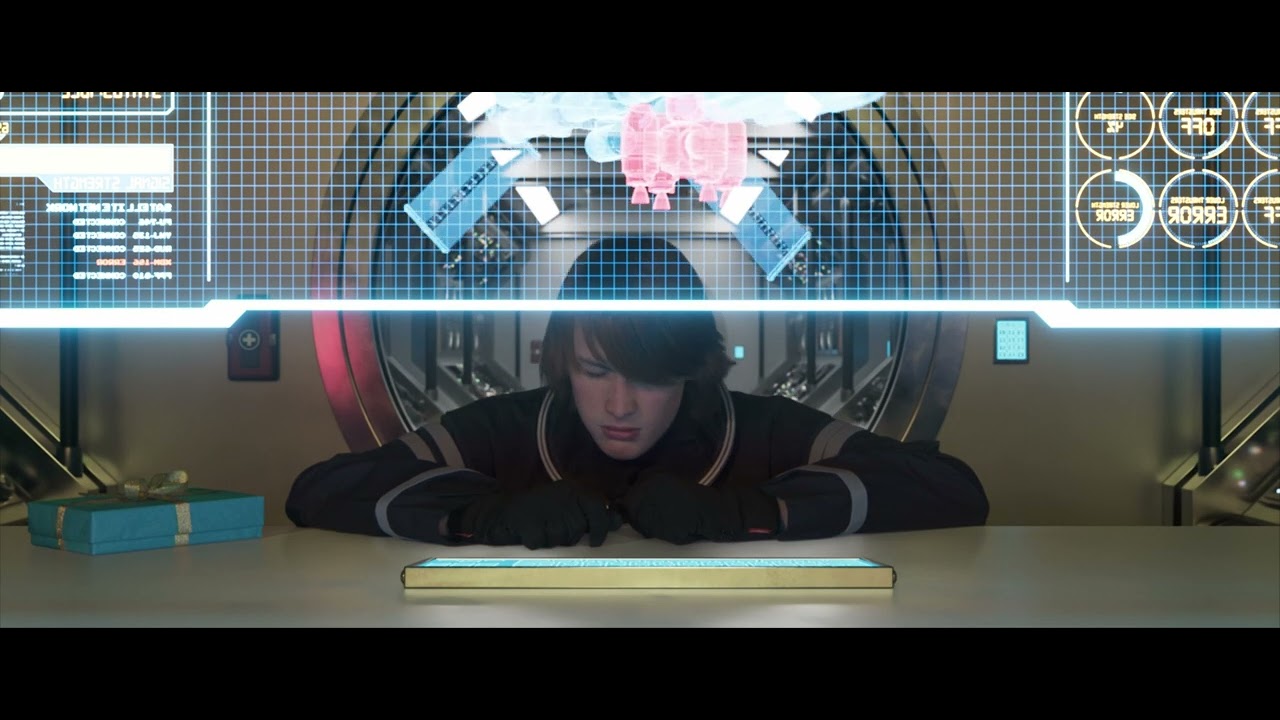
The final element to finish was the holographic screens, which had been blank up to this point. I wanted them to have a sleek futuristic look, so I went for a minimalist design with simple lines and shapes as well as a lot of transparent space. I also wanted the screens to feel active, so almost every element has some subtle looping animation that's constantly playing. I created all of the screens in Adobe After Effects and exported them as image sequences to use in Unreal Engine. Each screen had a default animation that could play while they were idle, but every unique interaction that occurred with a screen required a separate image sequence to be created. To add an additional layer to the futuristic aesthetic of the screens, I decided to include some 3D elements. While creating the screens in After Effects, I simply left a space in the design for the 3D elements and then added them as models in Unreal Engine.
COMPOSITING
The final step to finish the VFX was to composite all of the live action plates into the digital environments, which was done in Adobe After Effects. All of the footage was shot on a green screen, so I was able to utilize chroma keying in every shot, but almost all of them required some rotoscoping work as well to refine the mask. Once the mask was created, I color corrected the footage to fit in with the environment render and then added a subtle light wrap to blend the actor and background even further. Some shots required shadows as well due to visible contact with the desk or floor. I was able to extract the shadows from the footage and use them to darken parts of the background so that they matched the movements of the actor perfectly and I would also use a flipped and blurred copy of the actor plate to create reflections if necessary.
Here are a few VFX breakdowns for some of the composited shots in Edge of Oblivion. In total there were 115 VFX shots in this film, which is the most in any of my projects so far.